CURLY HAIR TIPS: HOW TO STRAIGHTEN CURLY HAIR

This is a public service announcement: it is possible to learn how to straighten curly hair without causing serious curl damage
Wait what? Yep, you read that right. Most curly girls assume that in order to switch up their style they need to risk the health of their curls. But it’s simply not true. Today we’re sharing curly hair tips and breakthrough technologies that let you not only protect your hair while you straighten it or blow dry it, but actually use the heat to give your hair a strengthening, hydrating treat!
How to Straighten Curly Hair: Your Biggest Challenges
The two biggest challenges with straightening curly hair are:
Excessive heat can cause serious dehydration (which is essential for healthy curls, learn more about how to keep your curls hydrated here). This in turn, can cause serious damage. On top of that pulling hair super taught, repeatedly can cause even more damage.
So how do we combat these issues? Serve up some cocktails - they’re an indulgent, hair-loving prep that makes straightening faster, easier and gives you healthier results.
It may seem obvious but properly prepping your hair can go a long way in preserving it’s overall health - and we’re not just talking heat protectant. Why not give your curls a fortifying infusion that will be activated by heat when you blow dry. Our go to? We love Kale-Infused Dream Cocktail, which helps reduce breakage by 50% in just one use. (Plus, it has heat protectant built in.)
See it in Action:
To combat dehydration, serve up another Dream Cocktail treatment: Coconut infused. It’s got potent hydrators, designed to restore silky suppleness to even dry parched curls. Just layer it on top of the Kale Cocktail while hair is still damp and get ready for a major texture make-over when you turn on the blow-dryer heat.
See it in action:
Use the right tool to gently coax your curls into submission when you blow-dry. Dream Smooth Paddle Brush has a mix of flared, non-dama
 ging nylon and natural boar bristles that grab and grip naturally curly hair gently for tighter, safer tension. Plus, the flatter, wider, rectangular face holds larger hair sections for high-efficiency (which means less pulling/tension, which in turn means less damage).
Beyond the brush, your dryer (specifically the settings you use it on) also makes a huge difference. The heat options and fan speeds are there for a reason! You should adjust your settings based on your texture.
High heat should only be used on super thick or coarse hair and to remove excessive moisture when the hair is really, really wet. Just remember when using this setting to keep the dryer moving, you never want to leave this high of heat on one section for too long. The low heat setting is your go-to for thin or fragile hair. If your hair is only damp instead of wet (especially if your curls absorb moisture quickly) it is important to use the low heat setting otherwise you could over-dry your hair and cause dehydration.
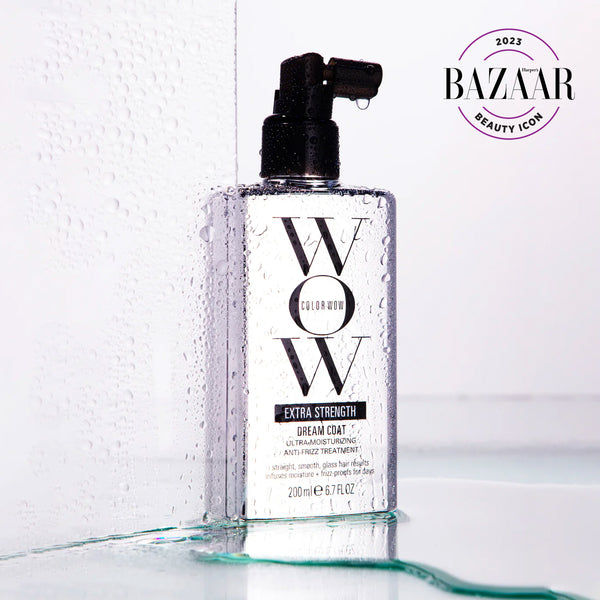
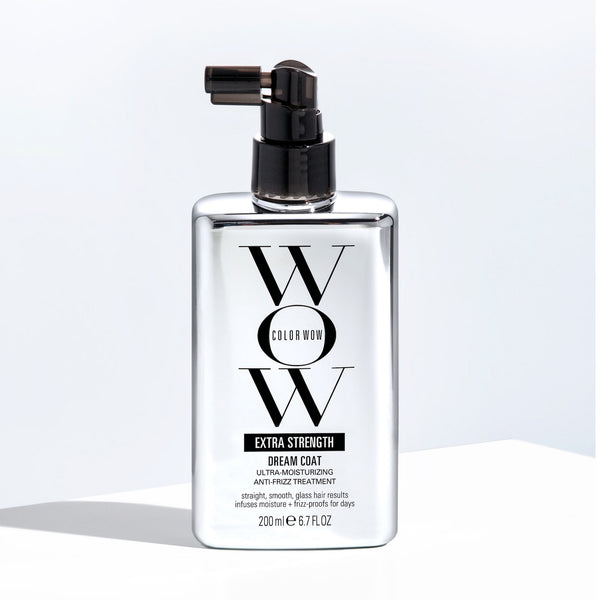
When it comes to speed a low to medium speed is ideal – because it helps minimize frizz. (If you do find yourself battling frizz, and have curly/coily and dry/dehydrated locks, then check out Extra Strength Dream Coat - our latest anti-frizz spray featuring award-winning waterproofing technology to block out humidity).

Use the low airflow setting for fine, fragile hair (especially for strands that are color processed and may be weaker because of it). Medium speed is a good option for thicker hair types. High speed should only be used on tough, resistant hair that you struggle to smooth out. If you’re struggling with a specific section of hair, your best bet is to first try increasing speed, then try increasing temperature if necessary (as temperature spikes will cause more damage than airflow speed).
For more tips on keeping your curly hair healthy, check out this blog post.